
How to Install a Universal Roof Rack (Clamp-On / Door-Frame Fit): Step-by-Step Guide
Wednesday, 21 October 2026 10:13:47 am Pacific/Auckland
Our Universal Roof Rack fits most cars with a bare roof – no rails, no fixed points needed. The feet sit on rubber pads on the roof and a steel hook clamps into the top of the door frame. Most people finish the job in 20–30 minutes with the tools in the box. This guide walks you through all 16 steps from the manufacturer's manual, with a few tips we've picked up fitting racks at our Glenfield workshop.
Before You Start
- What's in the box: 2 aluminium cross bars, 4 feet (bases), rubber base pads, a set of door-frame hooks in different shapes, protective patches for the hooks, noise-reducing rubber strip, end caps, and lock keys.
- Clean the roof and door-frame tops where the pads and hooks will sit. Grit under a rubber pad is what scratches paint.
- Check your roof load limit in the vehicle owner's manual. Never load more than the lower of the car's roof limit and the rack's rating.
- An extra pair of hands makes steps 4–5 and 10 much easier.
Part 1 – Assemble the Bars
Step 1: Insert Rubber Strip (Large strip goes on top)
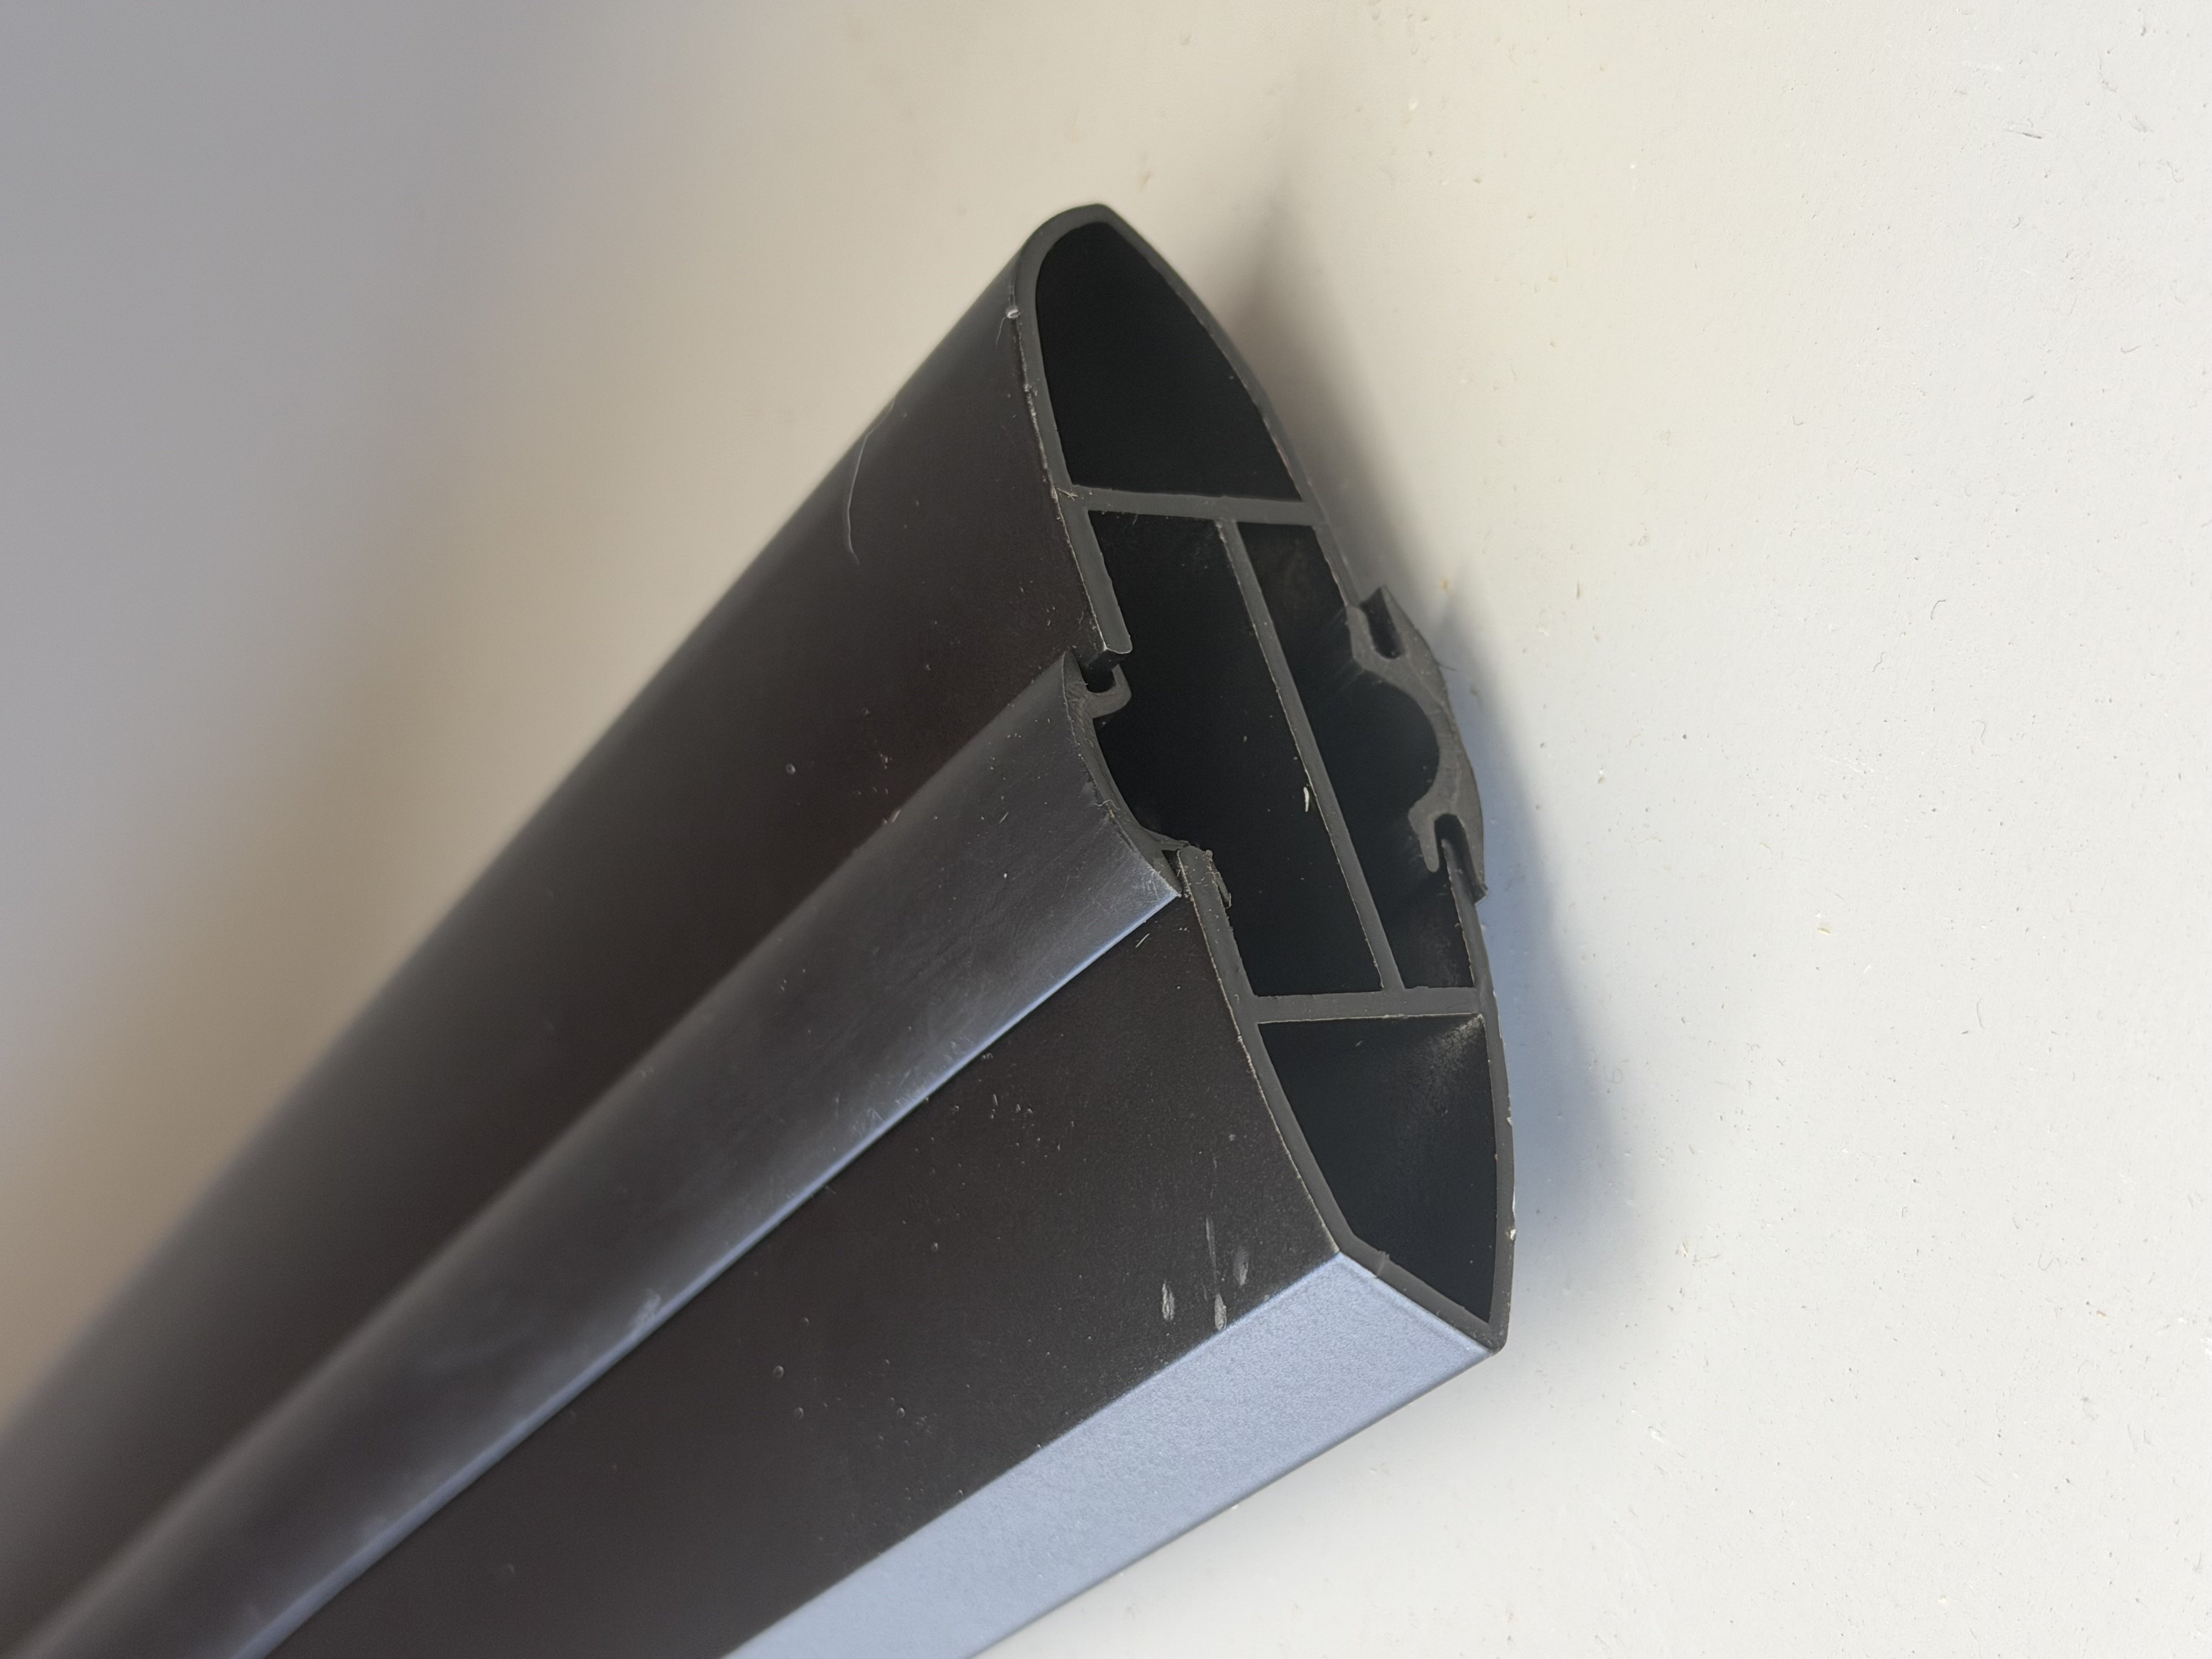
Slide the plastic end cover off each end of the aluminium cross bar. This opens up the channel the feet slide into.
Step 2: Slide the feet into the bottom slot of the bar
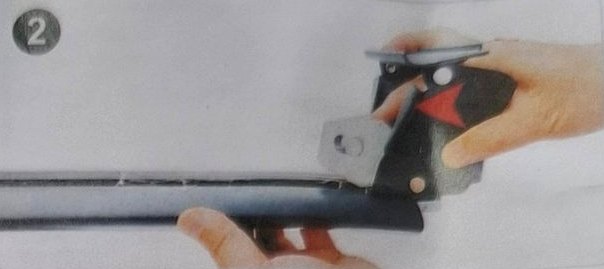
Feed each foot (base) into the T-slot on the underside of the bar. Leave the feet loose for now so you can slide them to the right width later.
Step 3: Fit the rubber pads to the feet
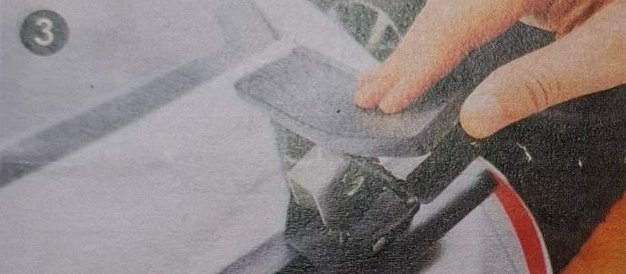
Press a rubber pad firmly onto the base of each foot. The pads protect your paint and stop the rack sliding on the roof.
Part 2 – Position the Rack on the Roof
Step 4: Place the rack above the B-pillar
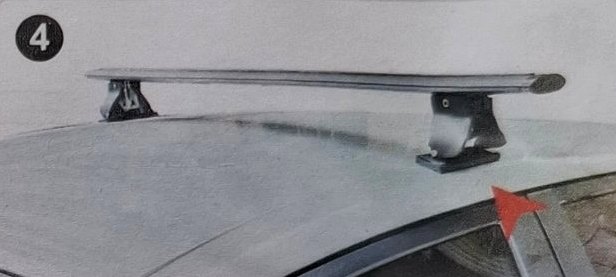
Sit the front bar on the roof in line with the B-pillar (the pillar between the front and rear doors). The rear bar goes above the rear door frame. As a rule of thumb, keep the two bars roughly 70–80 cm apart for a roof box or cargo.
Step 5: Centre the rack left to right
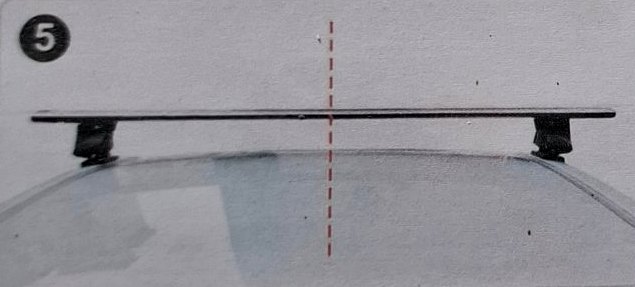
Slide the feet so the bar overhangs the same amount on each side. Measure from each end of the bar to the edge of the roof – both sides should match.
Step 6: Lock the foot position
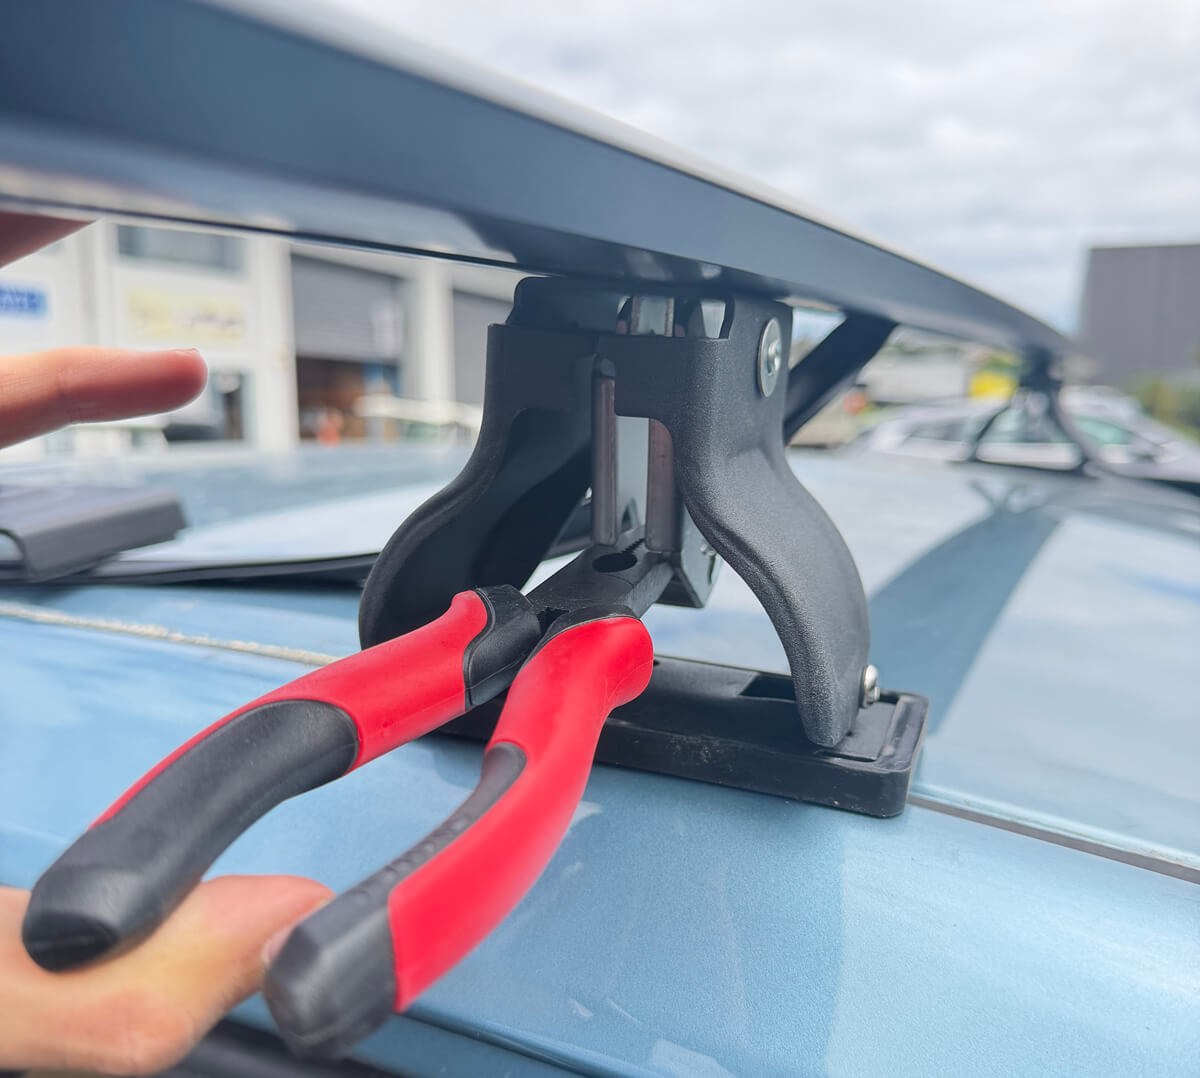
Press the lock lever on each foot outward and swing it straight until it clicks into the "Lock" position. This fixes the foot in the bar slot.
Step 7: Cut the noise-reducing rubber strip into 3 pieces
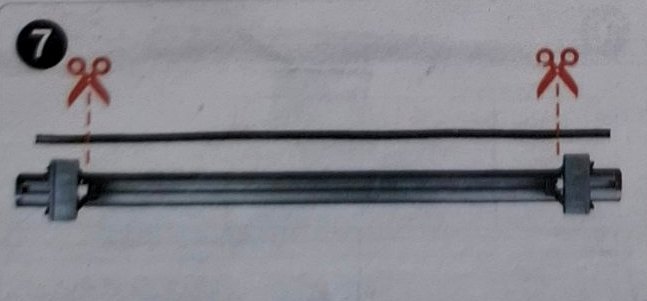
Lay the strip alongside the bar and cut it at each foot, as shown. You'll get three pieces: one for the gap between the feet and one for each outer end.
Step 8: Fit the three strip pieces into the top slot
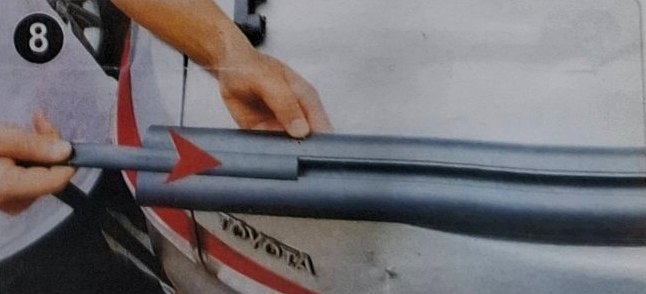
Push the pieces into the open channel on the bar one at a time. The strip stops wind whistle at highway speed. If you plan to use T-bolts for a roof box, you can leave the middle section out until the box is fitted.
Step 9: Refit the end caps
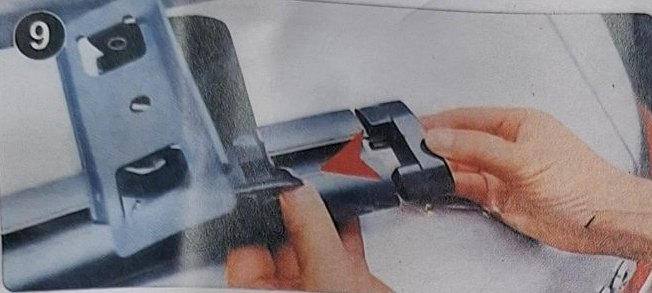
Push the end covers back onto both ends of the bar.
Step 10: Put the rack back in the fitting position
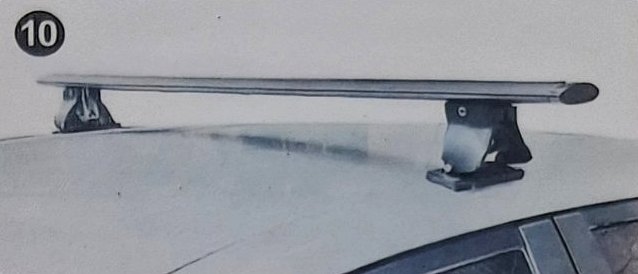
Return the assembled bar to the position you marked in steps 4–5.
Part 3 – Fit the Door-Frame Hooks and Tighten
Step 11: Choose the right hook for your car
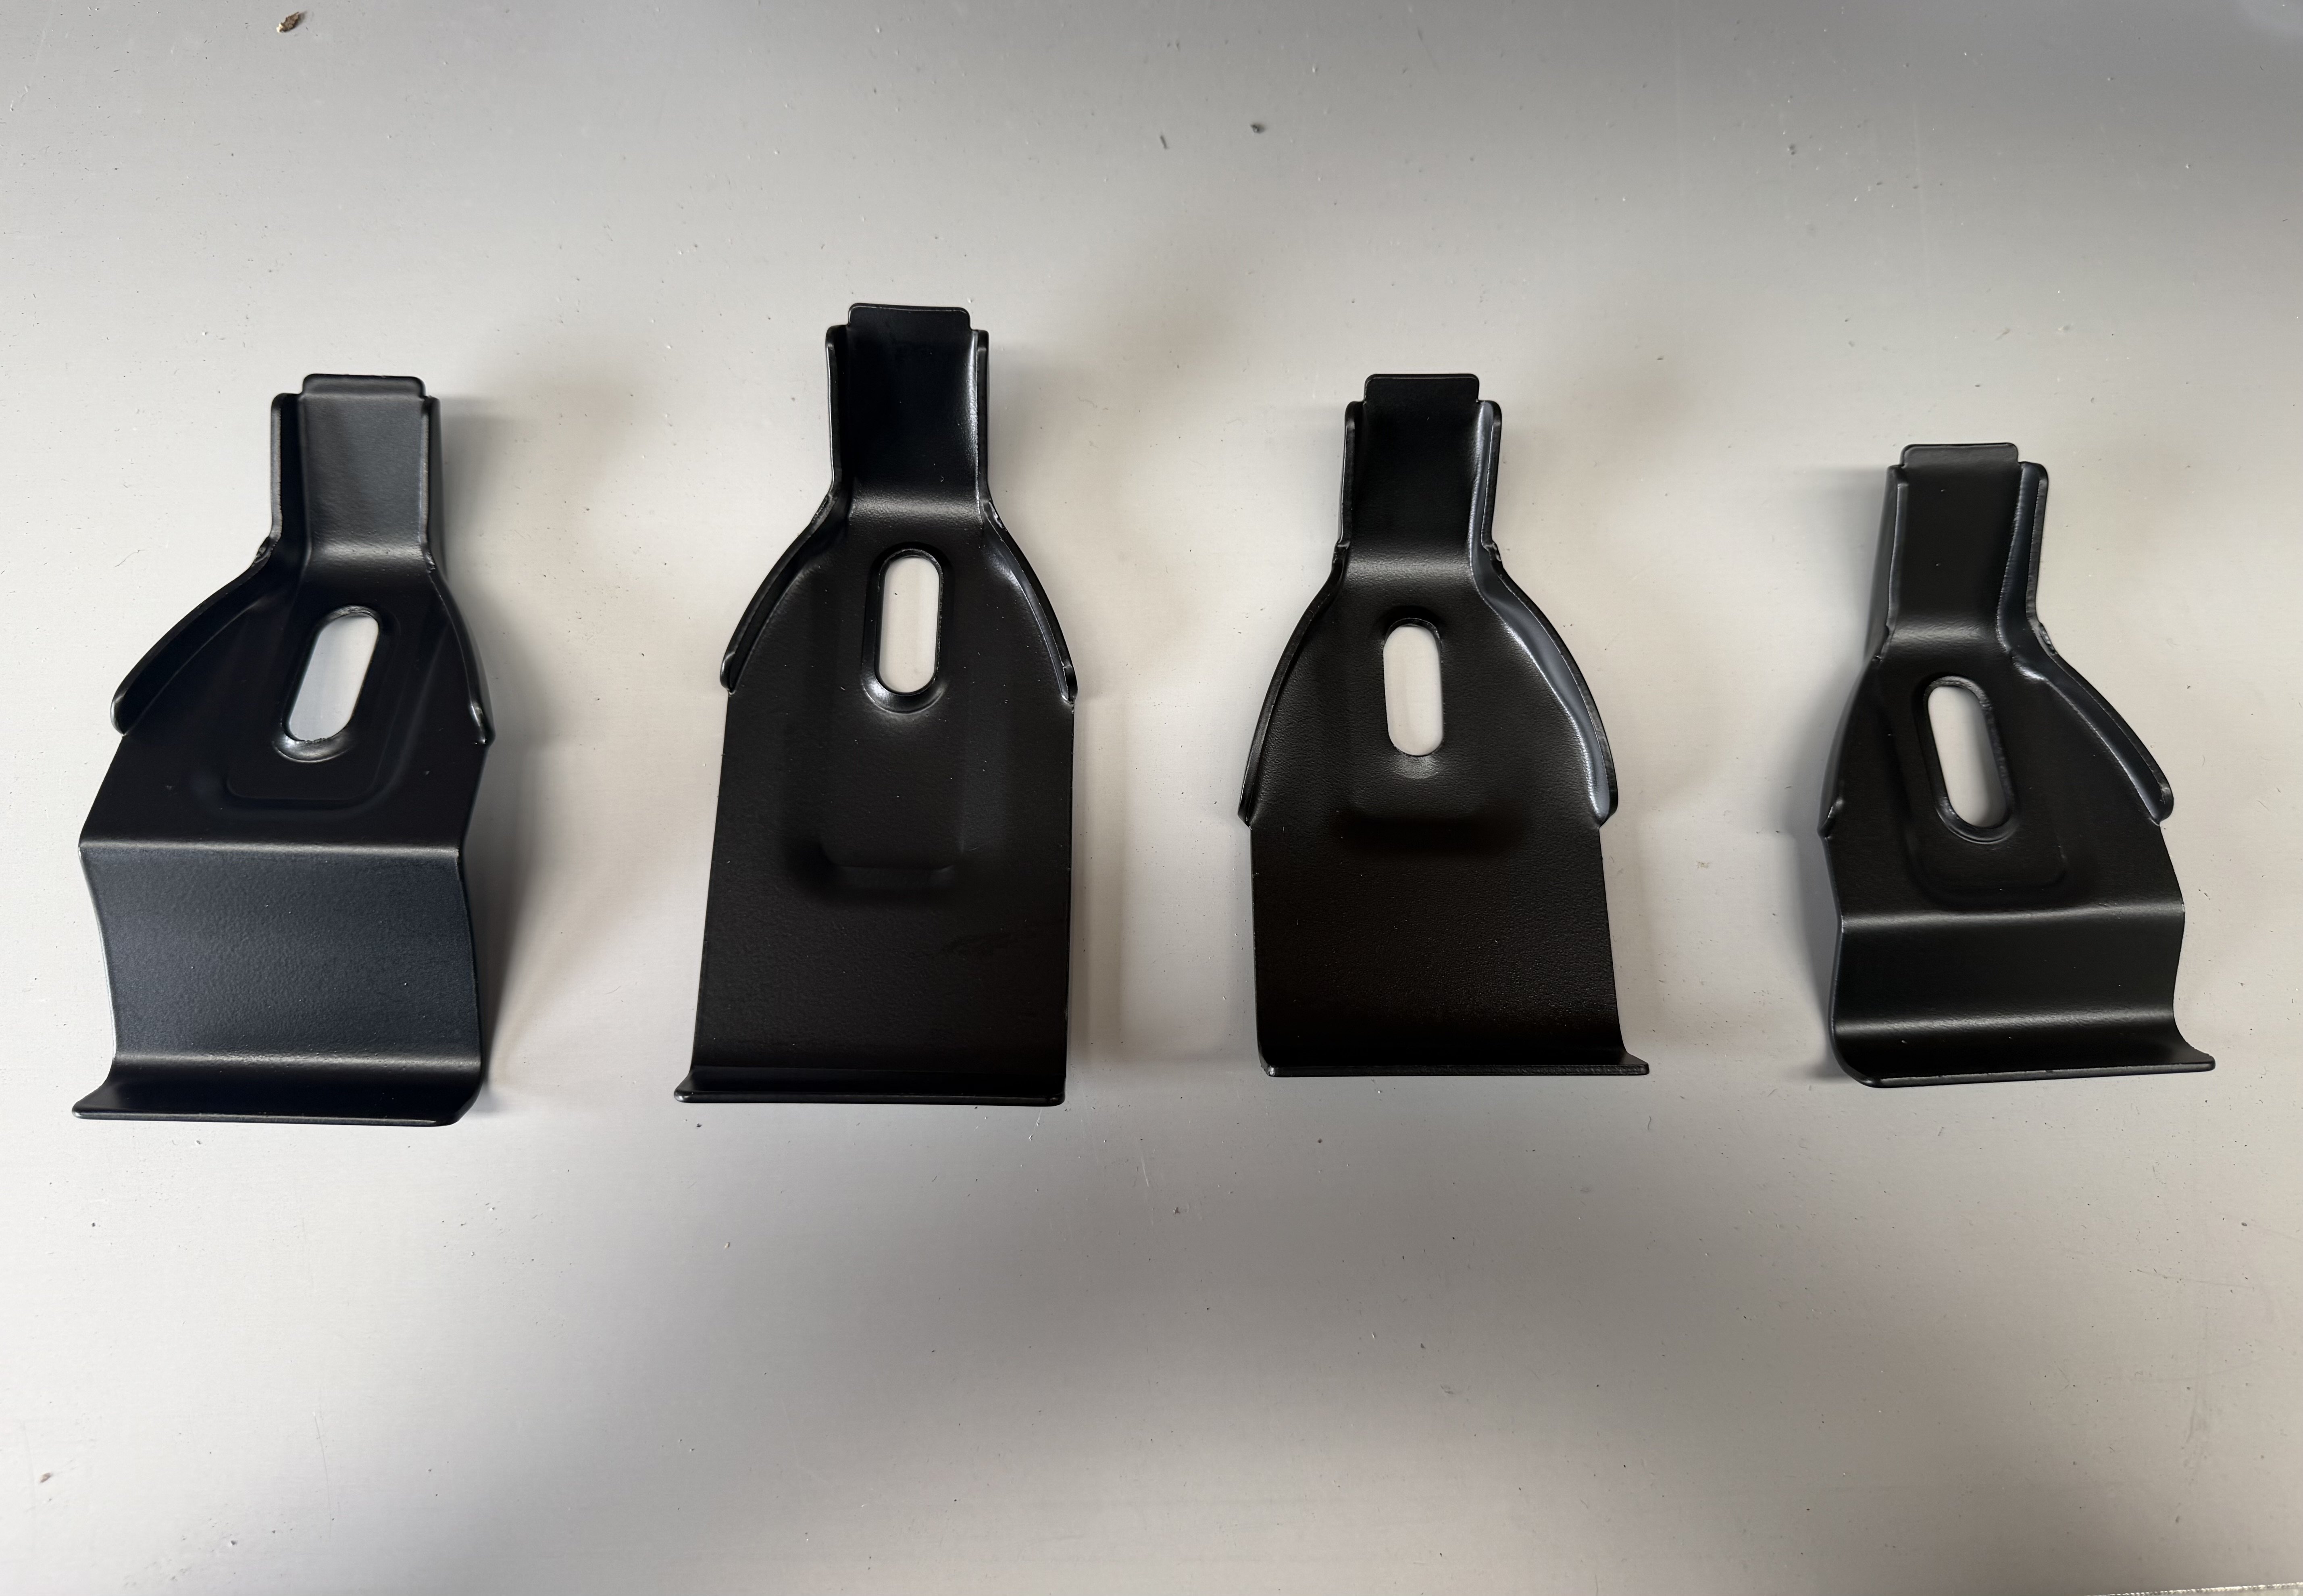
The kit includes hooks in several shapes. Open the door and test each one against the door-frame lip – pick the one that hooks in fully and sits closest to the shape of the frame, with no gap.
Step 12: Stick the protective patch onto the hook
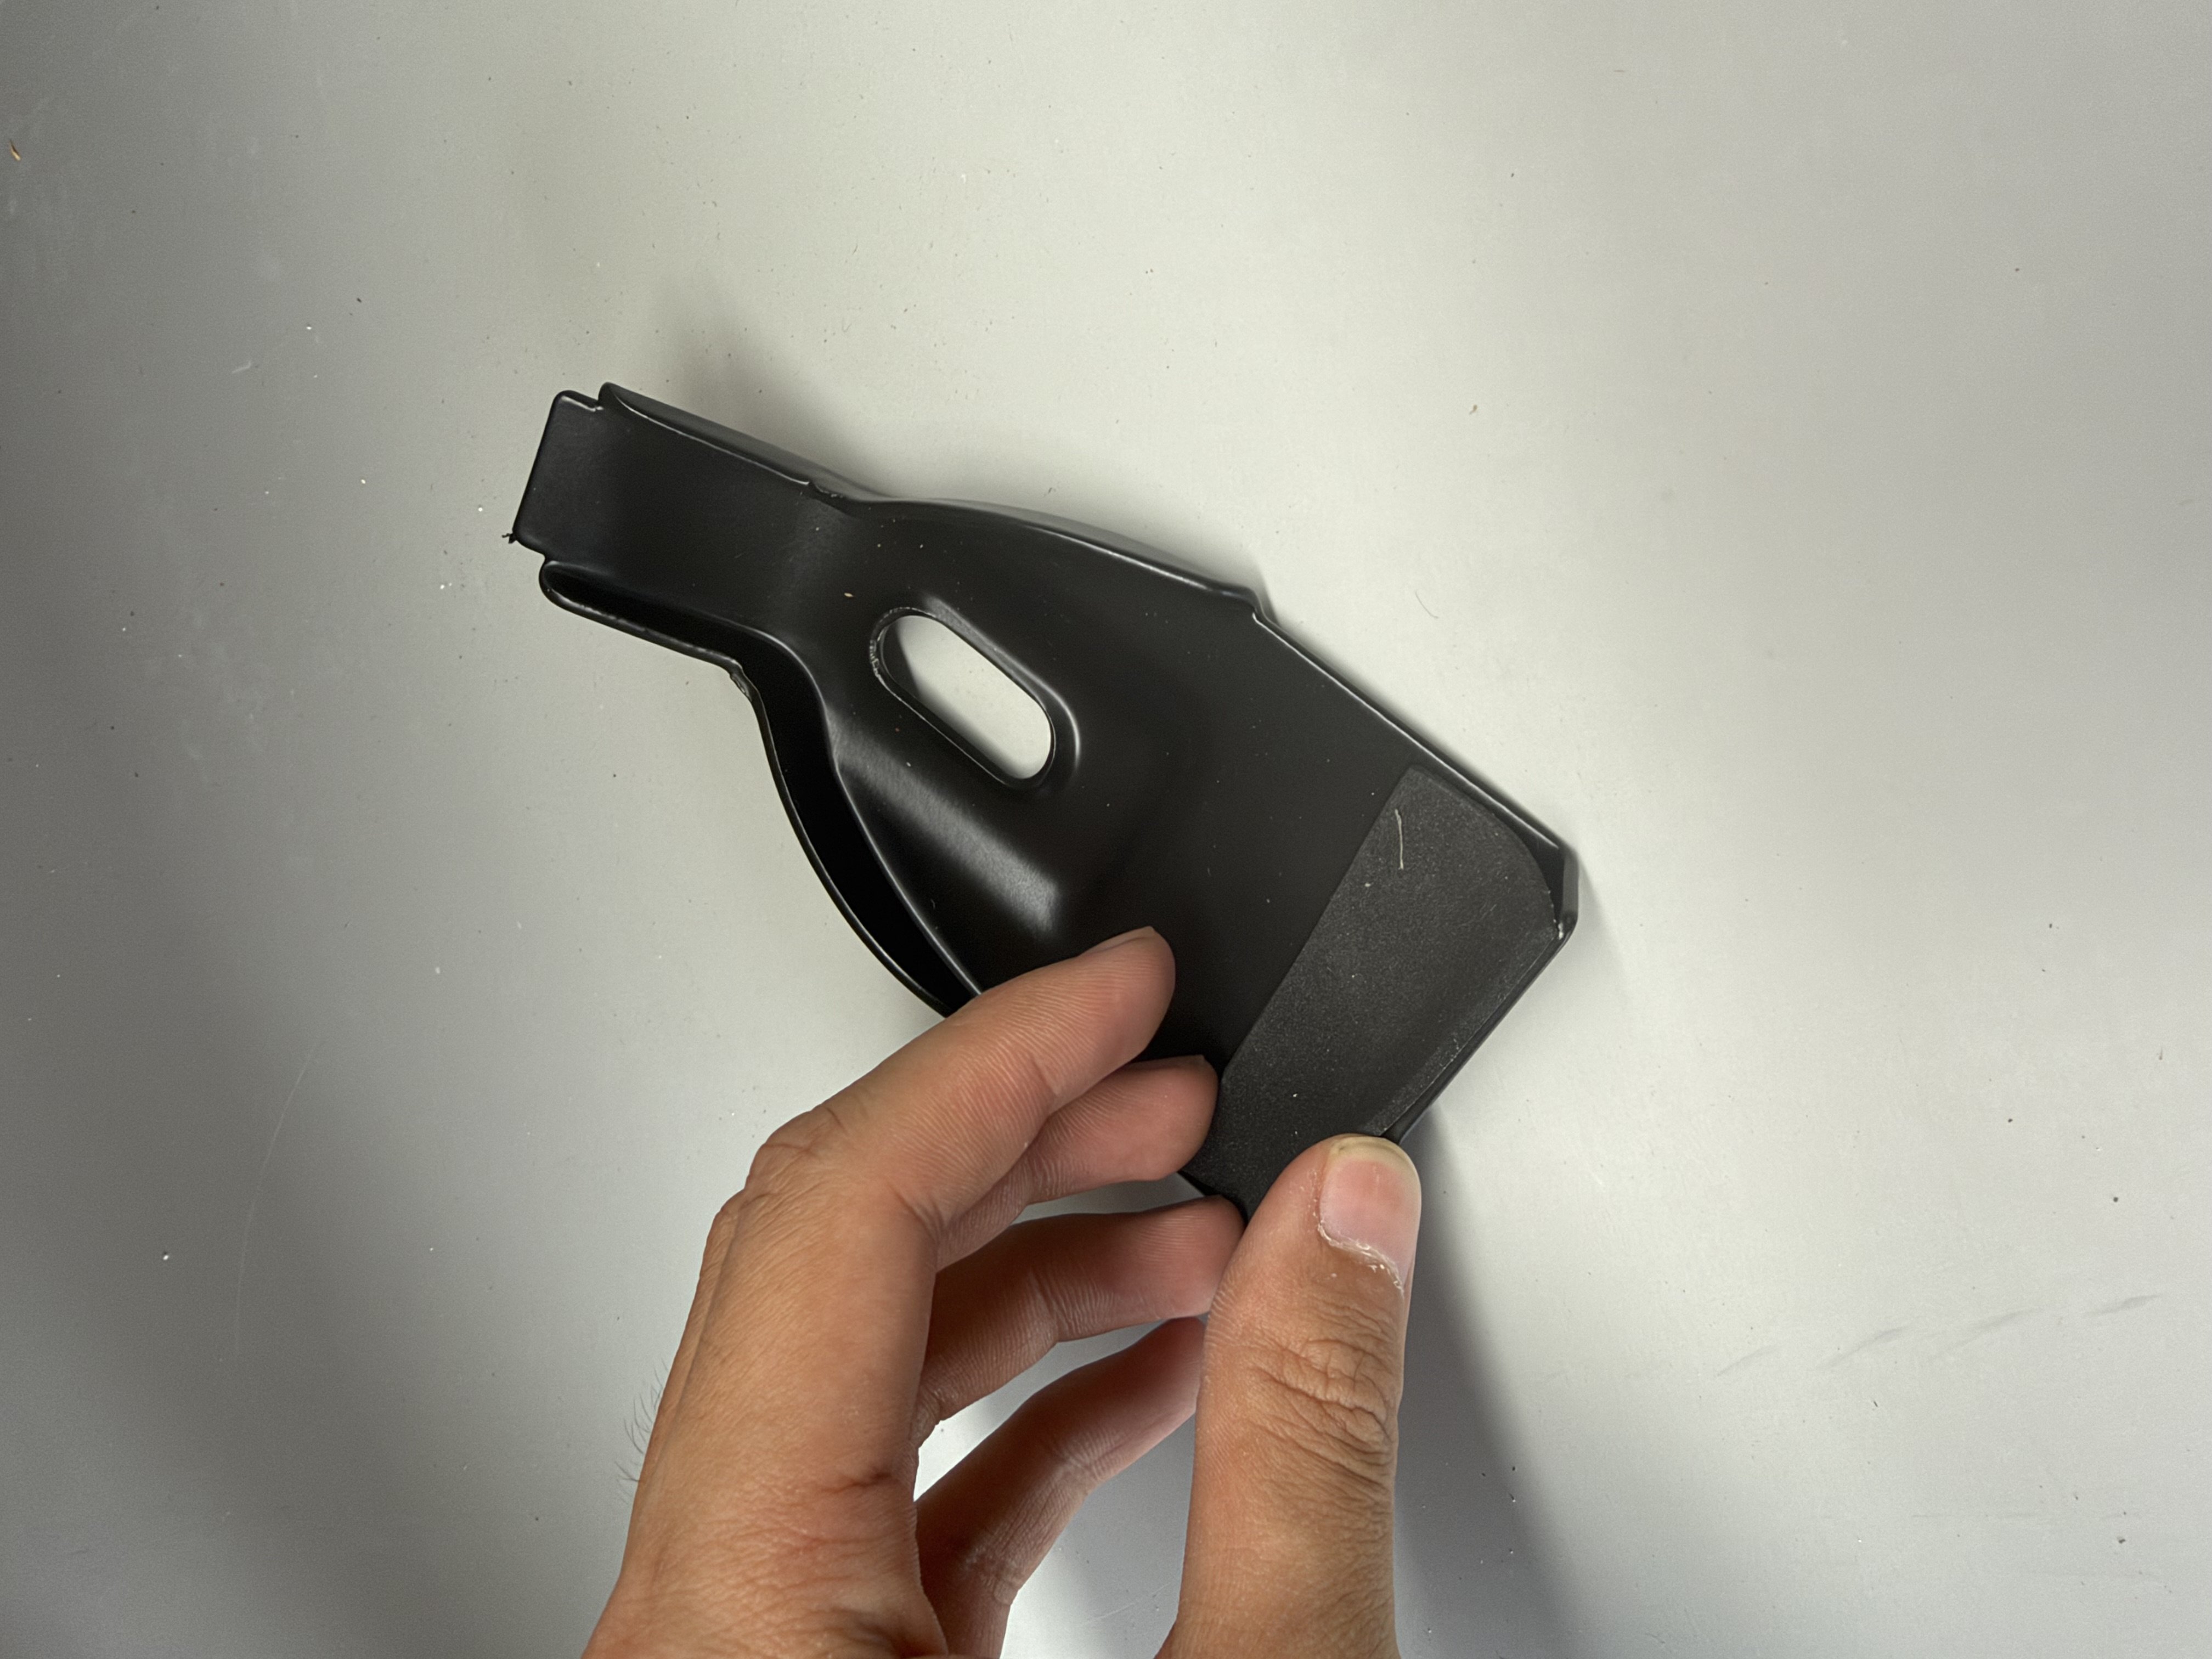
Fit the rubber protective patch to the inside of the hook. This is what touches your paint – don't skip it.
Step 13: Hook into the door frame, and screw on bolt
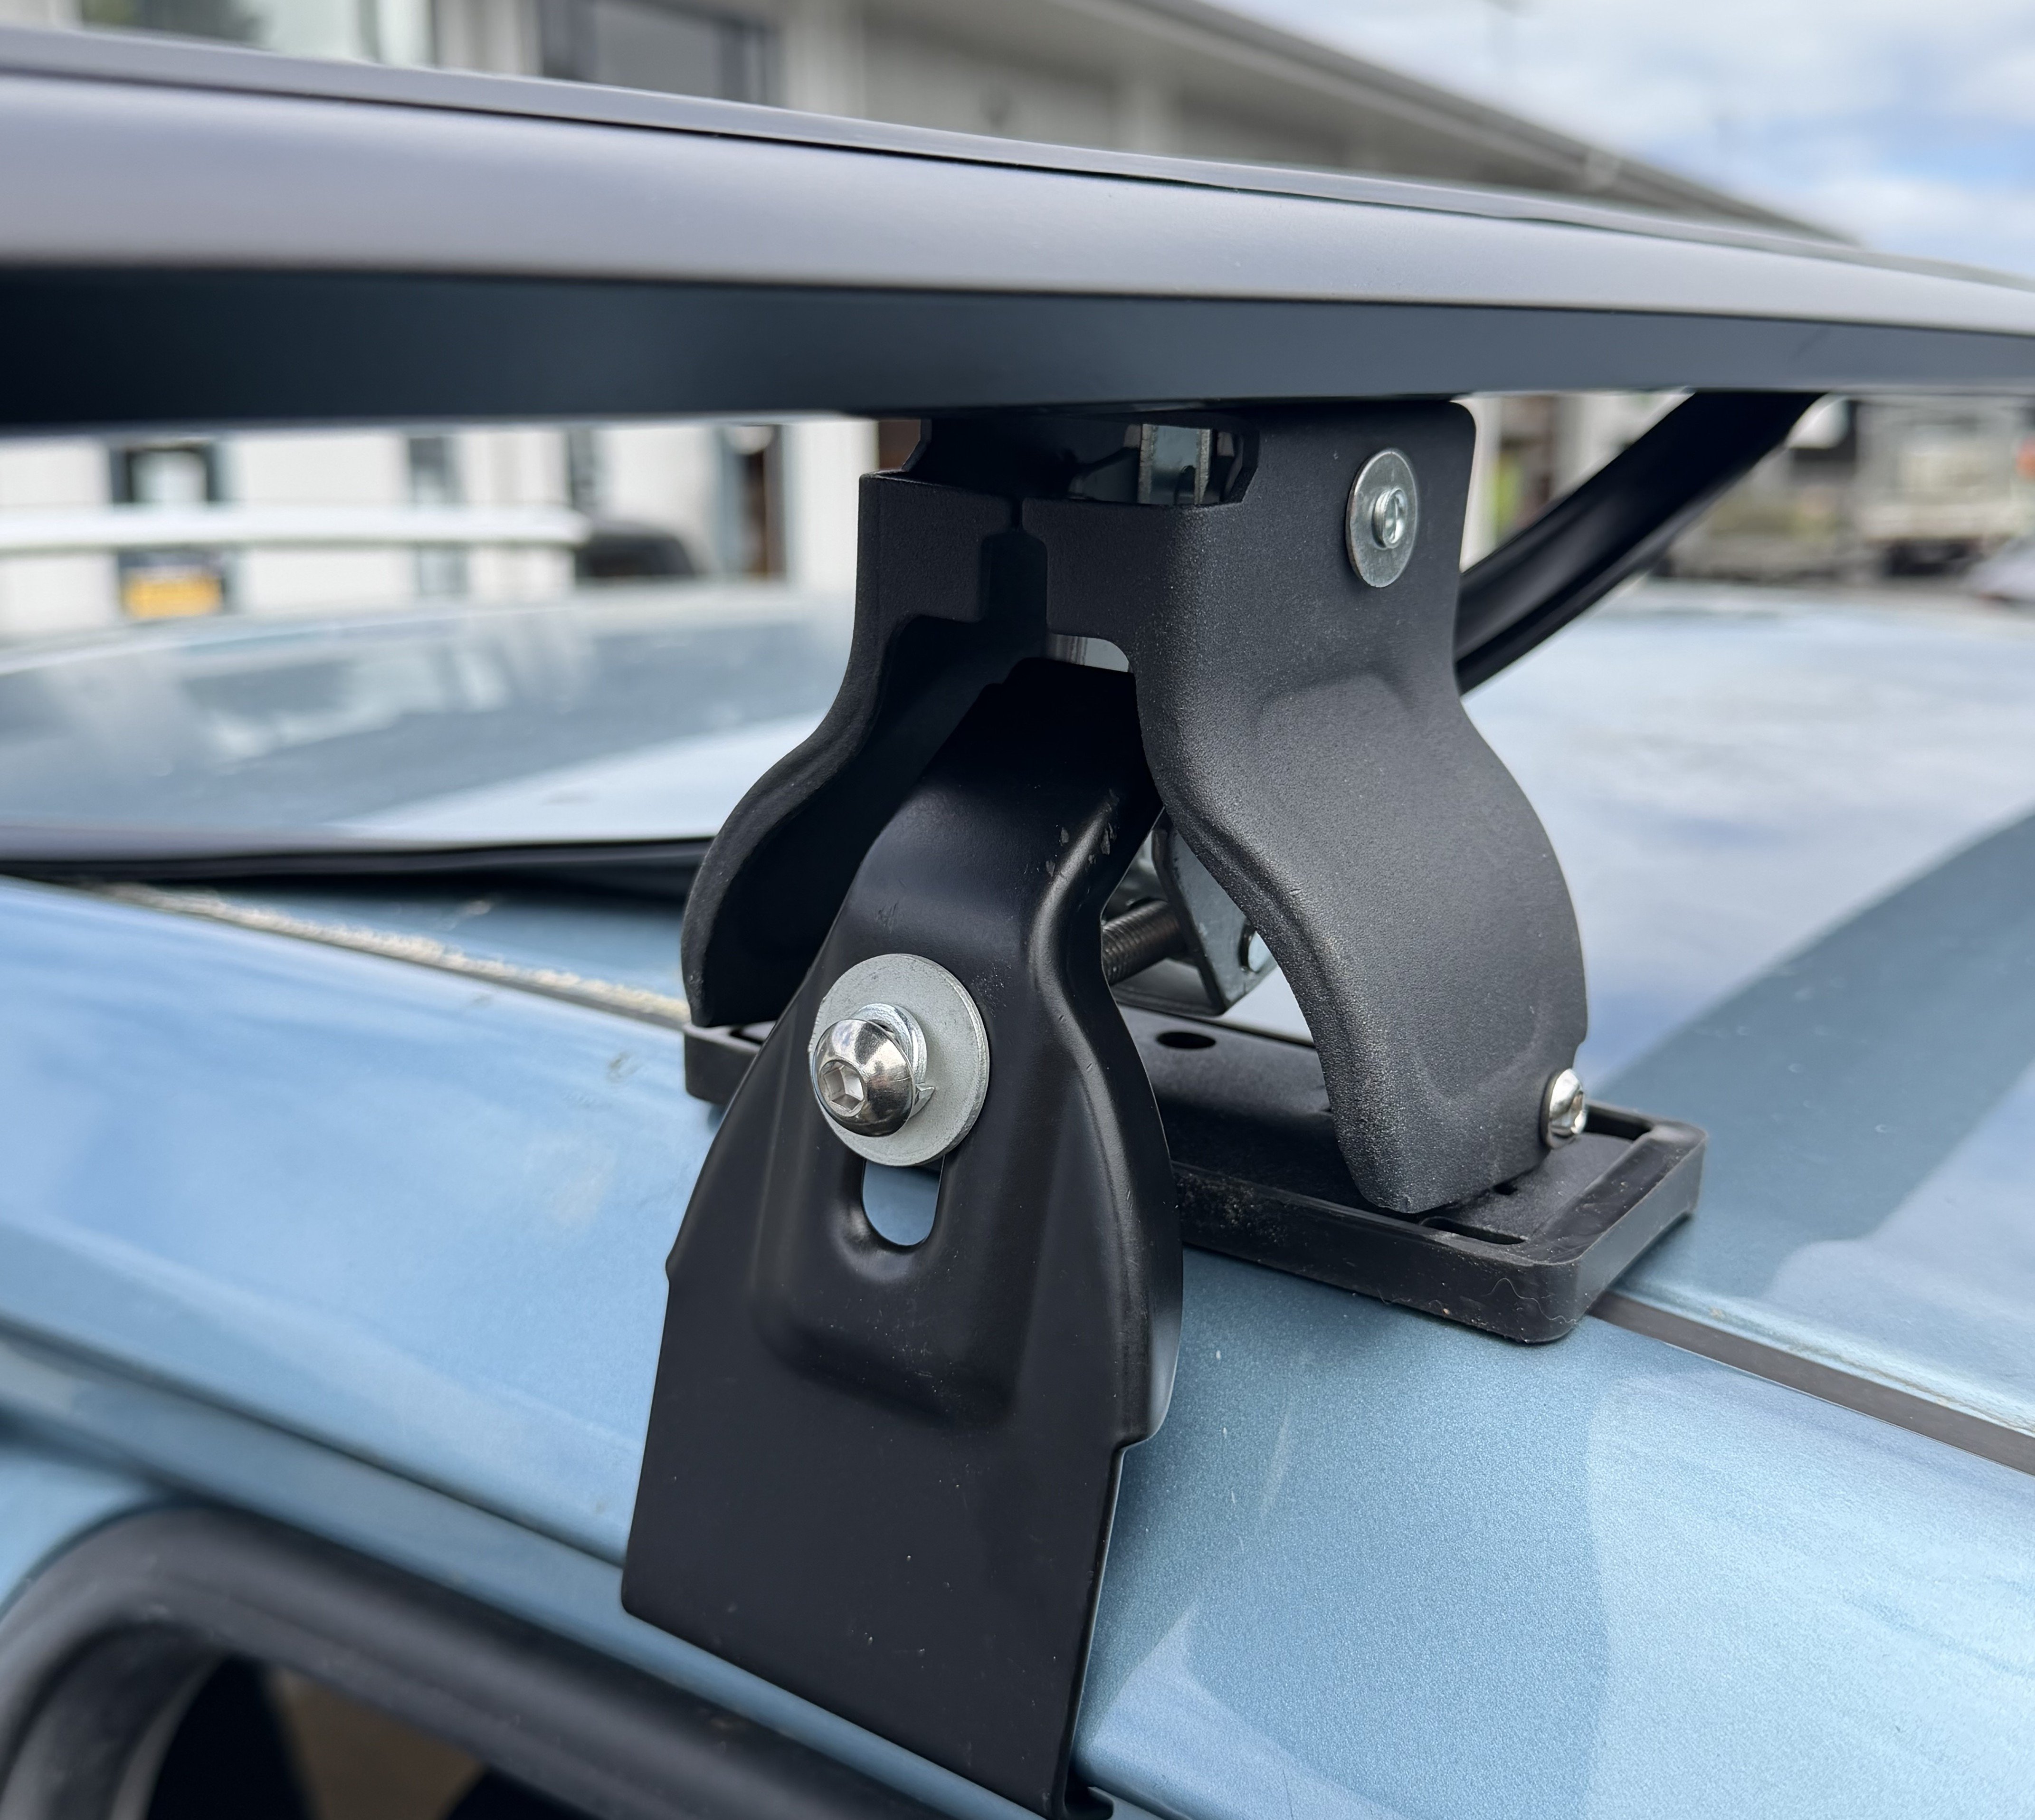
With the door open, seat the hook into the top of the door frame so it sits flat and evenly against the frame.
Step 16: Tighten both sides
once both side is set up, tighten the bolt on both sides.
Step 17: install head cover and lock.
After Installation – Safety Checks
- Push-pull test: grab the bar and rock it firmly. The car should move with the rack – the rack should not move on the roof.
- Re-check after the first 50 km, then before every long trip. Rubber pads settle and knobs can loosen slightly.
- Don't over-tighten – firm hand-tight is enough. Over-tightening can dent the roof or bend the door frame.
- Car wash: remove the rack before going through an automatic car wash.
- Load evenly and keep heavy items in the middle, between the bars.
FAQ
Will a universal roof rack fit my car?
It fits most sedans, hatchbacks, SUVs and vans with a bare roof and conventional door frames, including many Japanese imports. Cars with frameless windows or very thin door frames may not suit a clamp-on rack – send us your make, model and year and we'll check.
Can I fit a roof box to this rack?
Yes. Most roof boxes clamp around the bars with U-bolts or fit into the T-slot. Set the bars 70–80 cm apart and check the box's mounting range before fitting.
Will it damage my paint?
Not if the roof is clean and the rubber pads and hook patches are fitted. Most paint marks come from dirt trapped under the pads.
Can I take it on and off easily?
Yes. Once the width is set, you only need to undo the knobs (steps 14–16) to remove the bars. Mark the foot positions with masking tape so refitting takes minutes.
Ready to go? Shop the Universal Roof Rack or browse our roof boxes. Need help? Visit us at Unit 14/77 Porana Rd, Glenfield, Auckland.